
Flat tires are a cyclist’s worst enemy, but repairing them doesn’t have to be complicated.
The series of photos above walks us through a creative and efficient way to fix a punctured bicycle tire, even in rugged, customized conditions like studded tires.
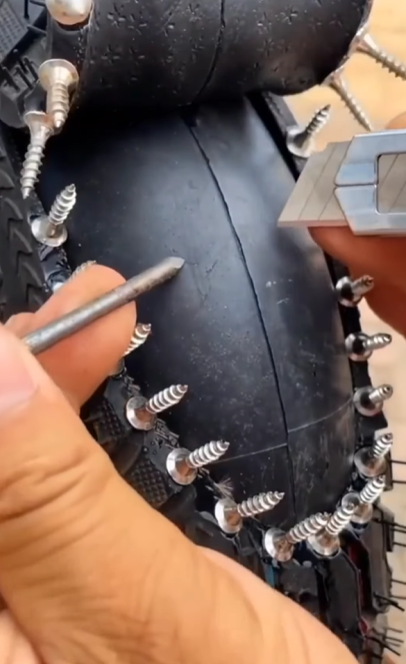
Identifying the Damage 🔍

The first step is to locate the puncture. In the first photo, a pointed tool is used to detect the exact spot where air is leaking.
The tire is thoroughly inspected, especially along the seam where damage is most likely.
Making Space for the Repair ✂️
A small cut is made using a sharp utility blade to open up the area around the puncture.
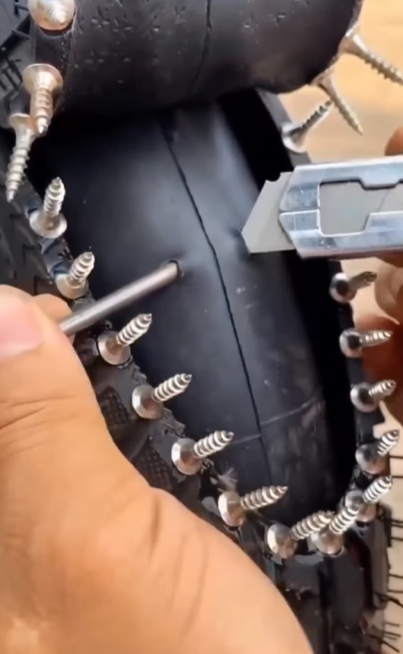
This allows better access for applying the patch or sealant and ensures the damage can be addressed thoroughly.
Sealing the Hole 💧
A liquid sealant is carefully injected into the hole.
This step creates an airtight plug from the inside out.
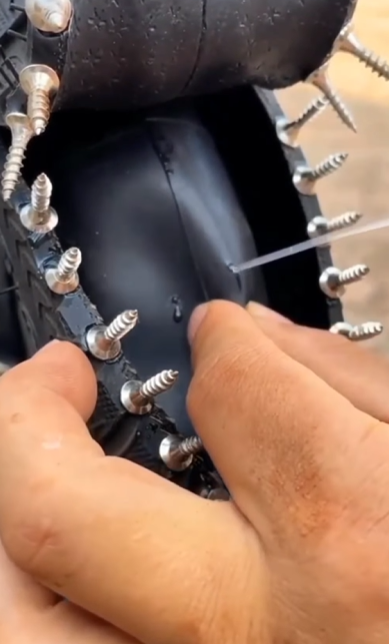
The tire is gently squeezed to help the sealant settle into the puncture fully.
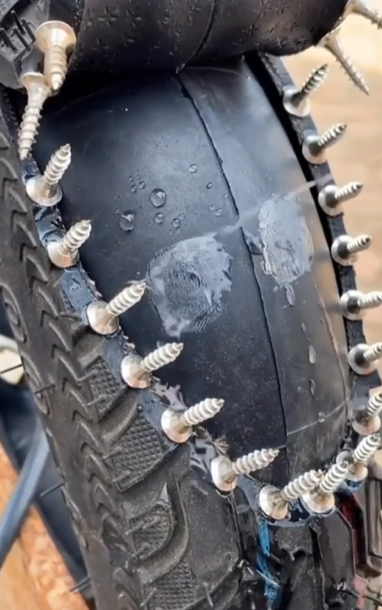
Checking for Leaks 🔎
After sealing, water is sprayed over the patched area to check for any escaping air bubbles. If no bubbles are seen, it means the puncture has been successfully sealed.
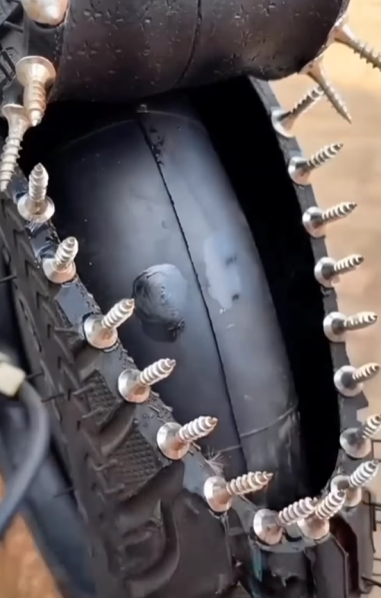
Final Touch – Reinforcement 🧽
The repaired section is covered with a specialized patch or coating for extra durability.
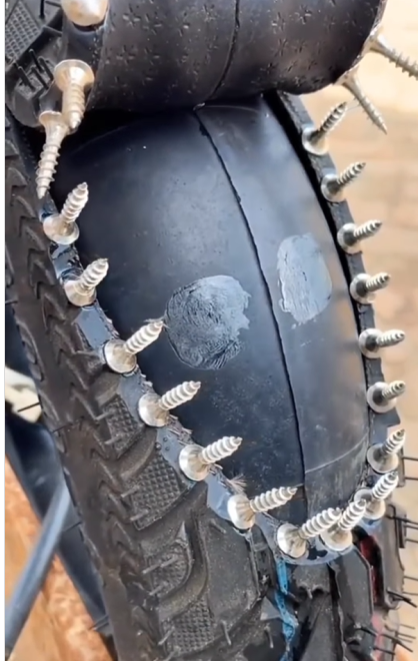
The final image shows the sealed area smooth and reinforced, ready to hit the road again.
Ready to Ride Again 🚴♂️
Fixing a bicycle tire, even one customized with studs for extreme conditions, is manageable with the right tools and a bit of patience.
This method ensures your ride is safe, and your adventure continues without interruption.