

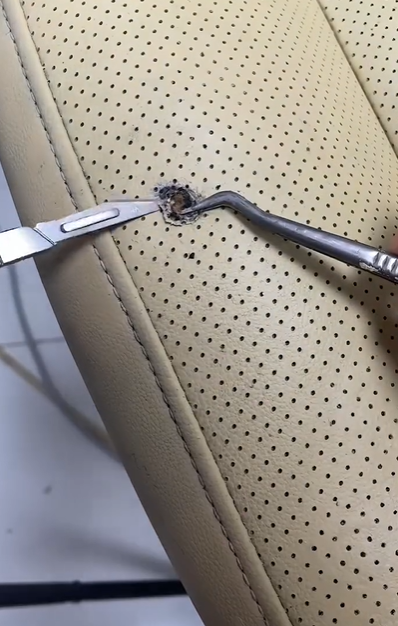
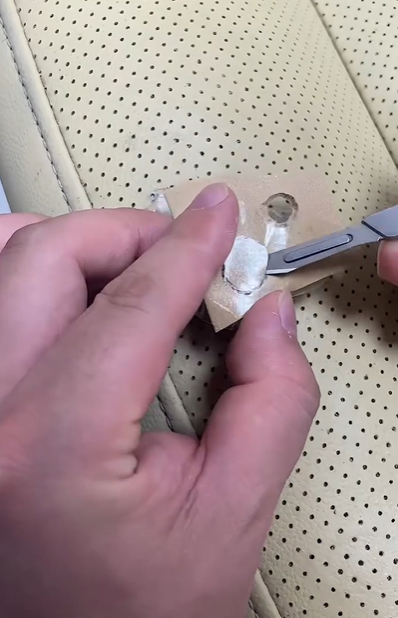
The first step involves carefully assessing the damage on the leather surface.
In this image, a specialized tool is used to gently remove any loose debris or damaged pieces from the affected area.
It’s essential to clean the hole or tear to ensure a smooth and secure repair.
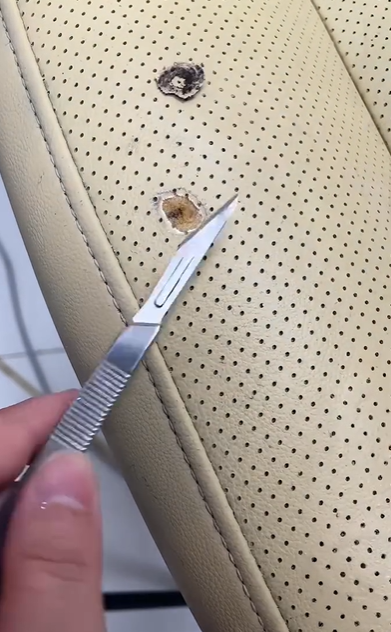
Cleaning the Damaged Area
After removing the damaged pieces, the next step is to clean the area thoroughly.
This ensures that the repair materials will adhere well. In the image, a tool is used to scrape away any remaining particles, preparing the surface for the next step of the repair.
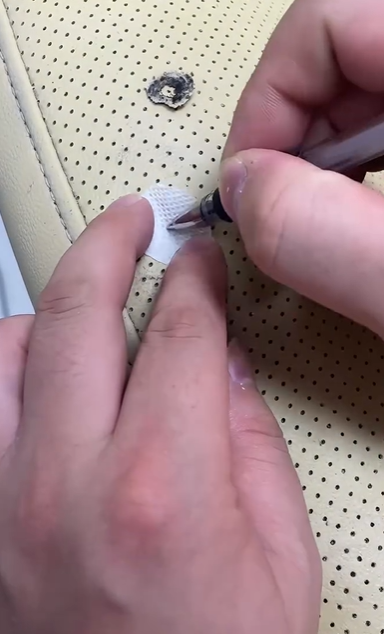
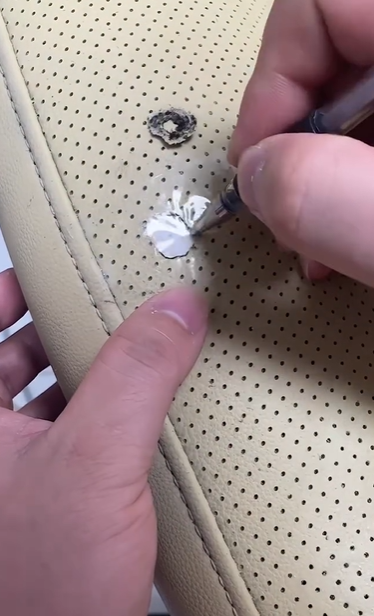
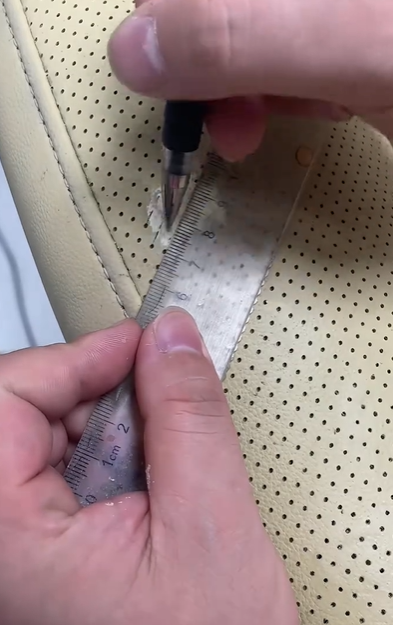
Tracing the Repair Patch
In this step, a patch is prepared to cover the hole.
Using a pen or marker, the outline of the patch is traced onto a piece of leather or other repair material.
This ensures that the patch fits perfectly into the hole, matching the contours of the damaged area.
Applying the Patch to the Leather
Once the patch is traced and cut to size, it is applied to the hole.
The patch is placed carefully over the damaged area to ensure it covers the entire surface, providing a seamless finish.
The adhesive is applied to secure the patch in place.
Smoothing the Patch for a Seamless Look
After placing the patch, it’s time to smooth it out and blend it with the surrounding leather.
The repair tool is used to ensure that the patch is perfectly aligned and secured, giving it a natural appearance.
The goal is to make the repair as unnoticeable as possible.
Applying Leather Glue
In this step, leather glue is applied to the patch and surrounding area to further secure the patch.
The glue provides a strong bond, ensuring the repair lasts over time.
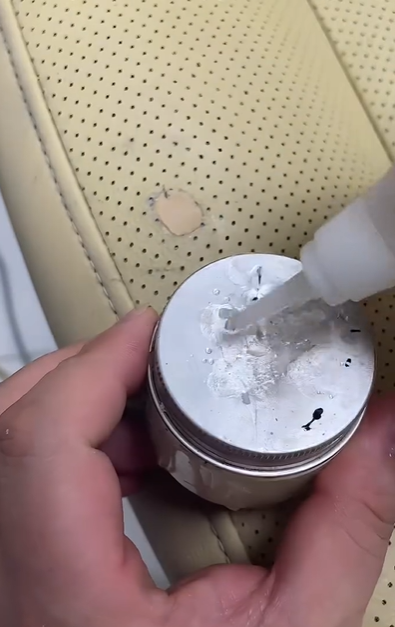
It also helps the patch blend more naturally with the rest of the leather surface.
Allowing the Repair to Dry
Once the patch is in place and the glue is applied, the next step is to allow the repair to dry.
This step is crucial for ensuring that the patch stays in place and the repair is durable.
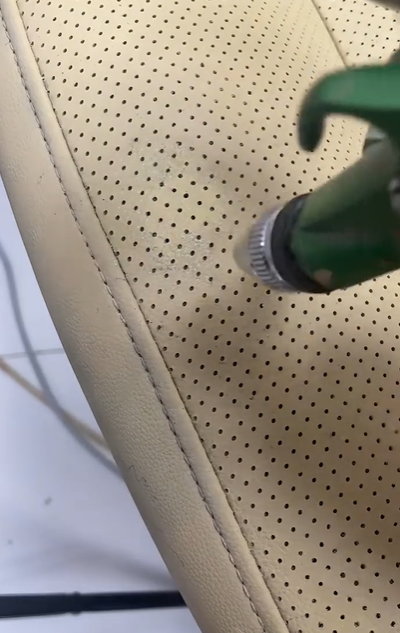
Smoothing and Refining the Repair

The last step involves using heat and tools to refine the appearance of the repair.
In this step, a heat gun or similar tool is used to gently heat the repaired area.
This helps the patch conform more naturally to the leather texture, ensuring a smooth and seamless finish.
With careful attention to detail and the right tools, repairing leather furniture is a manageable task.
By following these steps, you can restore your leather items to their original beauty, ensuring long-lasting durability and aesthetics.